(Image via
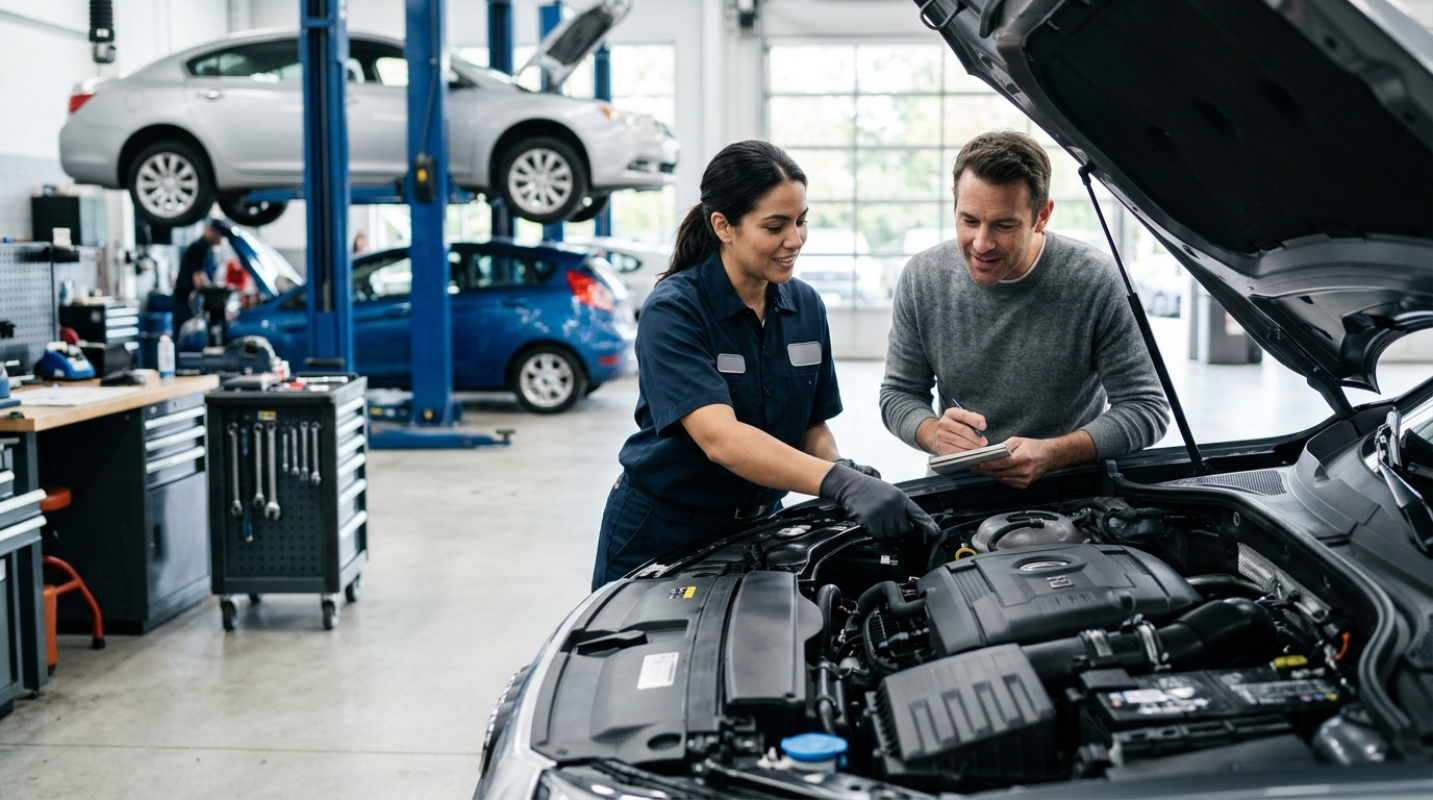
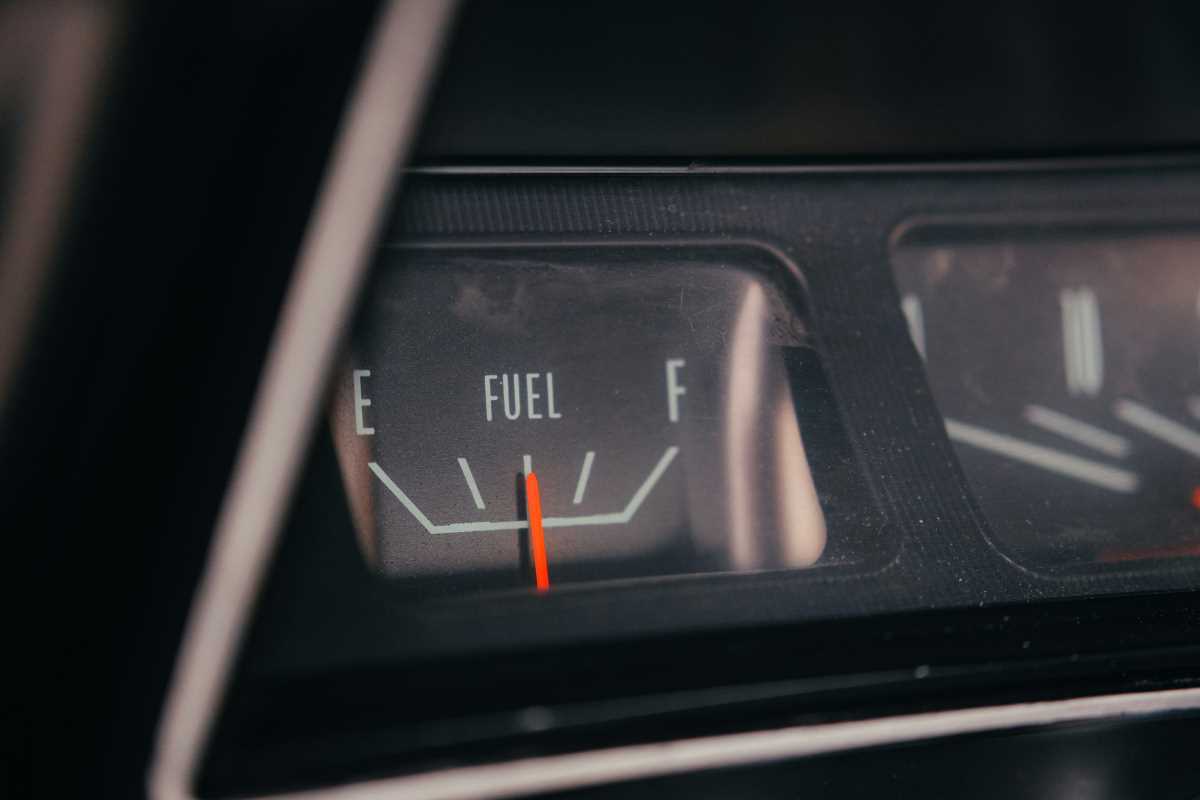
Bringing back the original shine of a classic car’s paint takes patience, skill, and the right approach. Relying on simple washes and off-the-shelf polishes rarely produces the flawless results seen on showroom floors. Professional detailers often rely on advanced techniques to tackle issues like small rust patches, faded colors, and uneven finishes. By following these expert-approved methods, you can address persistent paint imperfections and restore vibrant color with confidence. With careful attention to each stage of the process, you’ll notice remarkable improvements—from the gleam on your driver’s side mirror to the overall eye-catching appearance that stands out at any car show.
Technique 1: Surface Assessment and Preparation
Begin by inspecting every inch of metal under bright, angled lighting. Detect pinholes, early rust bubbles, or tiny dings that often hide under mild sunlight. Gently run your hand over the panels to identify rough or uneven areas.
After identifying trouble spots, focus on cleaning and sanding. Work from fine to ultrafine grit—start with 400, then 800, and finish with 1200. This gradient prevents deep scratches and prepares the surface for primer adhesion.
- Use a magnetic dent puller to lift shallow dips before sanding.
- Apply a water-based degreaser to remove wax residue and oils.
- Mark stubborn rust with a silver marker so you don’t miss any spots.
Technique 2: Choosing the Right Primer
Selecting the proper primer sets the foundation for all subsequent layers. Many enthusiasts pick a generic fill-and-sand primer, but specialty options handle classic steel much better. For example, an epoxy-based primer resists moisture that leads to flash rust.
Compare these popular types to select one that fits your project’s timeline, budget, and durability needs. Pay close attention to mixing ratios and pot life—you don’t want half a can drying in your spray gun.
- 3M Performance: Provides high build, fast sanding, and excellent corrosion resistance.
- P[/S] Epoxy: Offers a very hard base but requires strict temperature control.
- Dupli-Color DAP: Easy to spray with standard HVLP guns and available in aerosol cans.
Technique 3: Advanced Paint Matching Methods
Getting the color right makes or breaks a restoration. Instead of guessing with swatches, locate the original factory code stamped on the inner door jamb or glovebox. Cross-reference that code with manufacturer databases to find the exact formula.
If the original batch no longer exists, use a spectrophotometer. A portable device reads reflectance at different wavelengths and provides a digital recipe you can adjust. Test small panels first; even minor tints can change under showroom lighting.
Technique 4: Application of Specialty Clear Coats
Not all clear coats offer the same gloss or UV protection. Choose a urethane-based clear with ceramic additives if you plan to leave your vehicle outside. These molecules interlock as they cure, resisting scratches and fading.
Spray in three light passes, holding the gun about eight inches from the panel. Allow each pass to flash off before applying the next—look for a dull haze rather than wet runs. After finishing, follow the manufacturer’s window for polishing. Pushing too early creates haze that won’t buff out.
Technique 5: Polishing and Buffing Secrets
Polishing turns a smooth finish into a mirror-like surface. Start with a medium-cut compound on a wool pad to level micro-peaks. Work in small sections with a dual-action polisher to prevent heat buildup, which could soften the clear coat.
Finish with a fine polish and a foam pad to remove swirl marks. Use a polishing brush attached to your power drill to lift dust from panel edges. Keep a microfiber cloth nearby to inspect every part.
- Use masking tape to protect trim and rubber seals from polish overspray.
- Clean pads between sections to prevent grit from embedding.
- Maintain a steady speed—around 1500 RPM—to balance cutting power and safety.
Technique 6: Preventive Care to Maintain Finish
Once you restore that flawless shine, establish a plan to keep it. Instead of generic wax, apply a synthetic sealant that bonds at the molecular level. It lasts months, not weeks, between reapplications.
Wash with a pH-neutral shampoo and use the two-bucket method to reduce swirl-inducing grit. Keep a spray detailer in the glovebox for quick touch-ups. A light mist and wipe can remove bird droppings before they damage the clear coat.
Technique 7: Measuring Paint Thickness Precisely
Check that the paint thickness remains consistent to ensure you haven’t sanded through base layers or applied too much material. Use a magnetic gauge to measure steel thickness before and after painting, revealing variations under 0.1 mils.
Map out a grid of measurements across all panels. Use this data to adjust your sanding or layering process. Maintaining consistency results in an even finish that catches the light uniformly at every angle.
Follow these methods to prevent mistakes and achieve a high-quality finish. Prepare your tools, follow the instructions, and restore your classic car’s paint effectively.